
- Add a data model
- Scaffold the movie model
- Initial migration
- สร้างโปรเจ็กส์แบบ Web Application ชื่อโปรเจ็กส์ RazorPagesMovie
- Add a model to a Razor Pages app in ASP.NET Core
1.Add a data model
สร้างโฟลเดอร์ Models
สร้างคลาส Models\Movie.cs
Models\Movie.cs
using System;
using System.ComponentModel.DataAnnotations;

namespace RazorPagesMovie.Models
{
    public class Movie
    {
        public int ID { get; set; }
        public string Title { get; set; }

        [DataType(DataType.Date)]
        public DateTime ReleaseDate { get; set; }
        public string Genre { get; set; }
        public decimal Price { get; set; }
    }
}
The ID field is required by the database for the primary key.
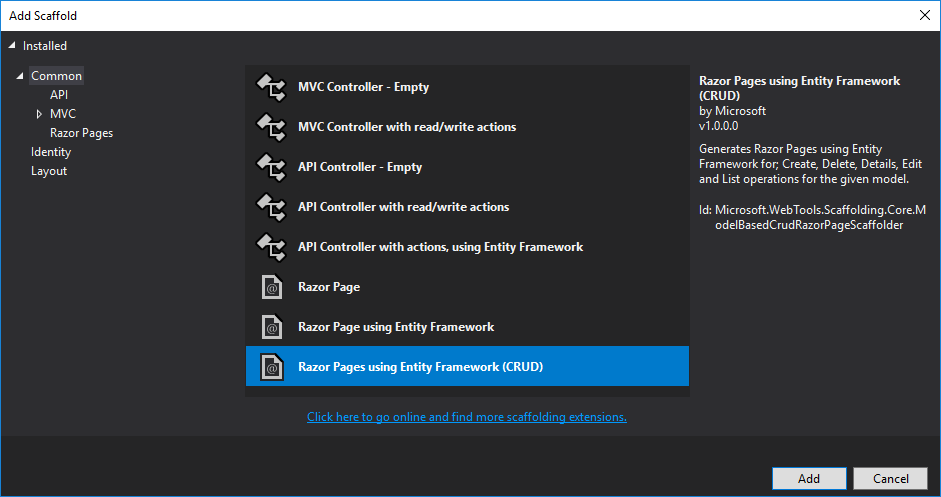
2.Scaffold the movie model
สร้างโฟลเดอร์ Pages\Movies
คลิกขวาที่โฟลเดอร์ Pages\Movies > Add > New Scaffolded Item
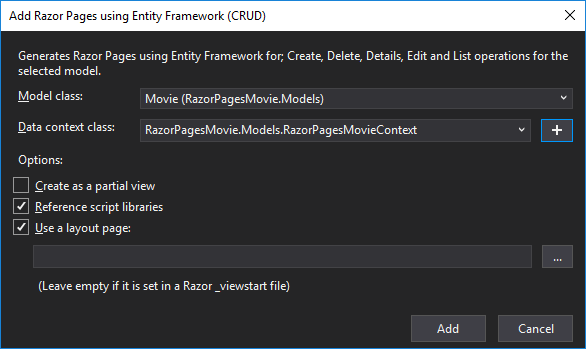
The appsettings.json file is updated with the connection string used to connect to a local database.
ใต้โฟลเดอร์ Pages/Movies จะสร้างไฟล์ Create, Delete, Details, Edit, Index ขึ้นมา
และสร้างโฟลเดอร์และไฟล์ Data/RazorPagesMovieContext.cs
Startup.cs
public void ConfigureServices(IServiceCollection services)
{
    services.Configure<CookiePolicyOptions>(options =>
    {
        // This lambda determines whether user consent for non-essential cookies is needed for a given request.
        options.CheckConsentNeeded = context => true;
        options.MinimumSameSitePolicy = SameSiteMode.None;
    });


    services.AddMvc().SetCompatibilityVersion(CompatibilityVersion.Version_2_1);

    services.AddDbContext<RazorPagesMovieContext>(options =>
            options.UseSqlServer(Configuration.GetConnectionString("RazorPagesMovieContext")));
}
บรรทัดที่ 13-14 : เพิ่มส่วนติดต่อ SqlServer เข้ามา
appsettings.json
{
  "Logging": {
    "LogLevel": {
      "Default": "Warning"
    }
  },
  "AllowedHosts": "*",
  "ConnectionStrings": {
    "RazorPagesMovieContext": "Server=(localdb)\\mssqllocaldb;Database=RazorPagesMovieContext-1234;Trusted_Connection=True;MultipleActiveResultSets=true"
  }
}
บรรทัดที่ 9 : กำหนดค่าให้กับ ApplicationDbContext ตรงนี้อย่าลืมเปลี่ยนชื่อ Database ให้สั้นลงด้วย
Data/RazorPagesMovieContext.cs
using System;
using System.Collections.Generic;
using System.Linq;
using System.Threading.Tasks;
using Microsoft.EntityFrameworkCore;

namespace RazorPagesMovie.Models
{
    public class RazorPagesMovieContext : DbContext
    {
        public RazorPagesMovieContext (DbContextOptions<RazorPagesMovieContext> options)
            : base(options)
        {
        }

        public DbSet<RazorPagesMovie.Models.Movie> Movie { get; set; }
    }
}
บรรทัดที่ 16 : Movie
3.Initial migration
ใช้ Package Manager Console (PMC)
หรือ PowerShell
โดยทำ 2 ขั้นตอนคือ
- Add an initial migration.
- Update the database with the initial migration.
PMC
PM> Add-Migration Initial
PM> Update-Database
PowerShell
> dotnet ef migrations add Initial
> dotnet ef database update
รัน F5
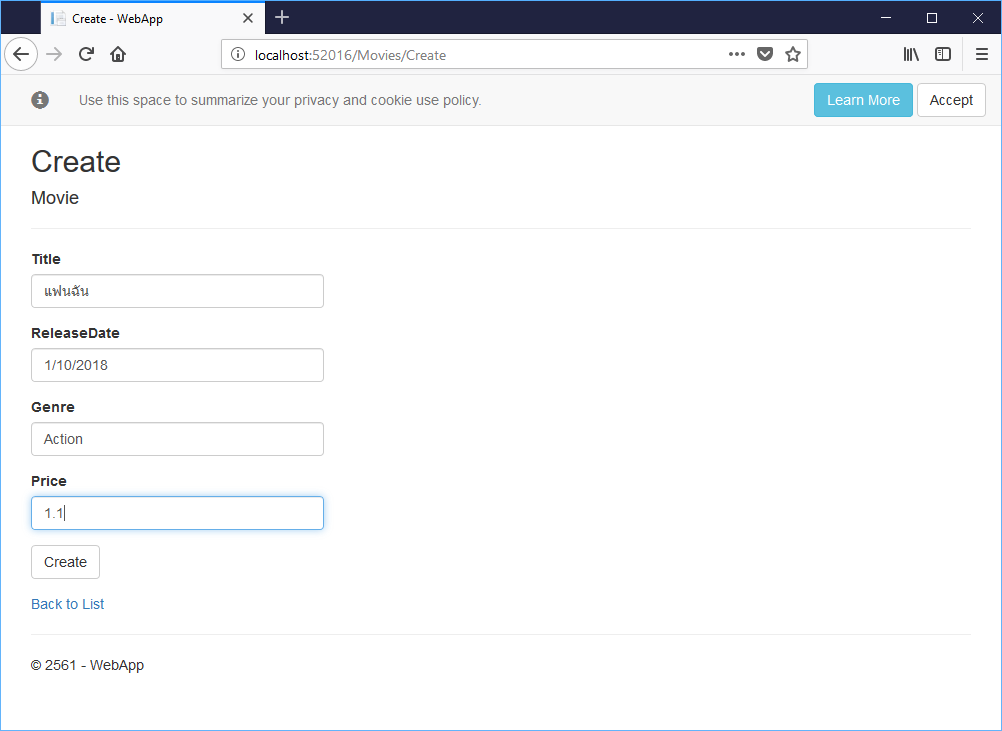
แล้วเรียกไปที่ http://localhost:52016/Movies/Create

ลองใส่ข้อมูลลงไป แล้วกดปุ่ม Create
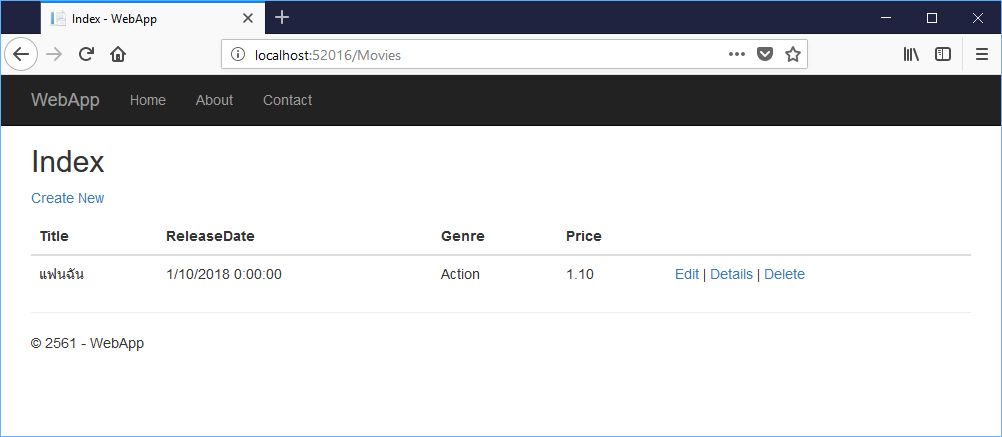
จะมาหน้าแสดงรายการ จะเห็นรายการที่พึ่งใส่เข้าไป
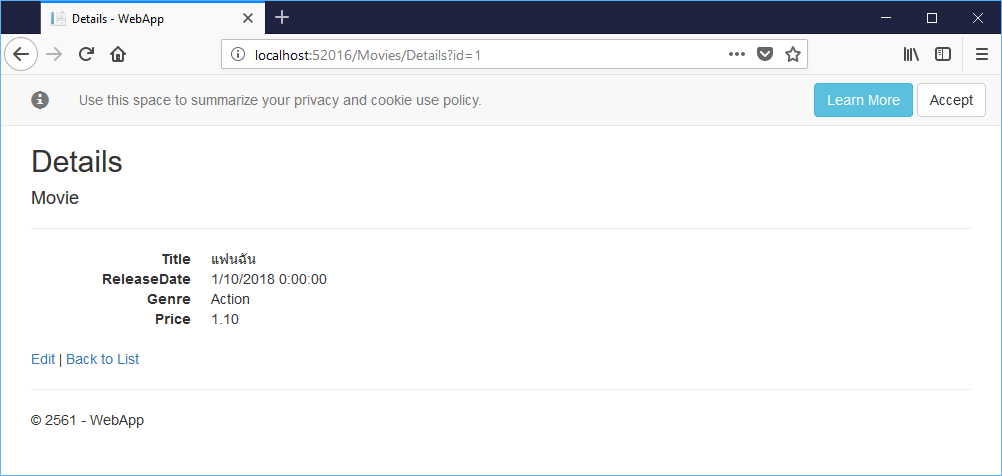
ลองกด Detail จะเห็นตามนี้
ถ้าจะลบ Database หรือสร้าง Database ขึ้นใหม่ ใช้คำสั่ง
PowerShell
> dotnet ef database drop
> dotnet ef database update
Link
- docs.microsoft.com- Add a model to a Razor Pages app in ASP.NET Core