การอัพโหลดไฟล์ จำเป็นต้องมีการกำหนดค่า SECRET_KEY ไม่งั้นจะ error ว่า RuntimeError: The session is unavailable because no secret key was set. Set the secret_key on the application to something unique and secret.
# save this as app.py

from flask import Flask
from flask import session
import os

app = Flask(__name__)

app.config.update(SECRET_KEY=os.urandom(24))
app.config.from_object(__name__)

@app.route("/")
def hello():
    return "Hello, World!"

if __name__ == "__main__":
    with app.test_request_context("/"):
        session["key"] = "value"
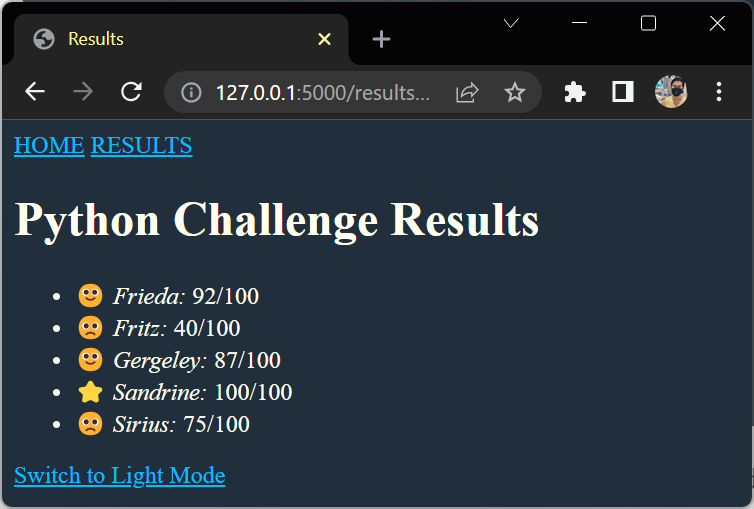
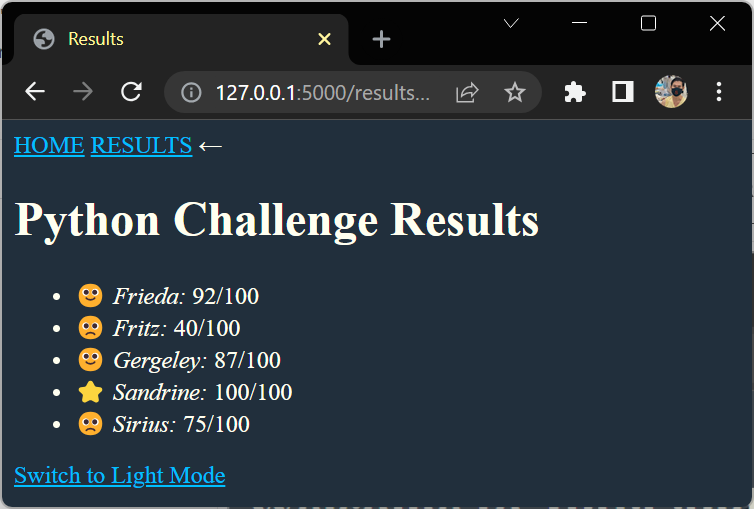
You used Jinja’s sort filter to sort the results of your students by their names. If you had students with the same name, then you could chain the filters:
{% for student in students|sort(attribute="score", reverse=true)
  |sort(attribute="name") %}

  {# ... #}

{% endfor %}
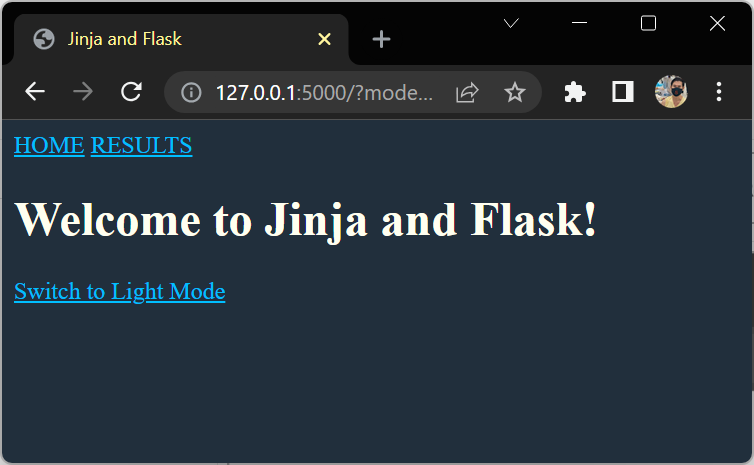
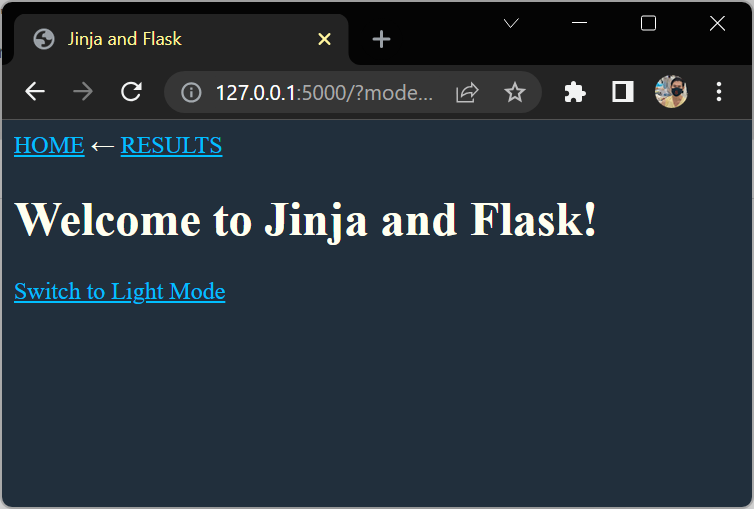
Include Macros
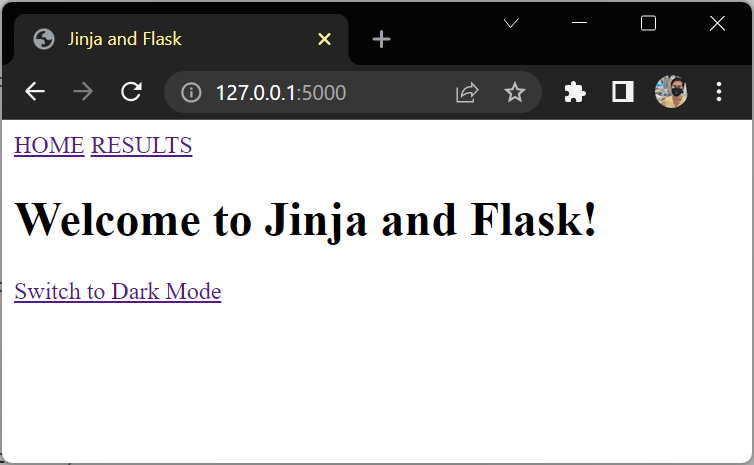
Implement a Dark Mode
{# templates/macros.html #}

{% macro light_or_dark_mode(element) %}
  {% if request.args.get('mode') == "dark" %}
    <a href="{{ request.path }}">Switch to Light Mode</a>
    <style>
      {{ element }} {
        background-color: #212F3C;
        color: #FFFFF0;
      }
      {{ element }} a {
        color: #00BFFF !important;
      }
    </style>
  {% else %}
    <a href="{{ request.path }}?mode=dark">Switch to Dark Mode</a>
  {% endif %}
{% endmacro %}
{# templates/base.html #}
{% import "macros.html" as macros %}
<!DOCTYPE html>
<html lang="en">
<head>
<meta charset="utf-8">
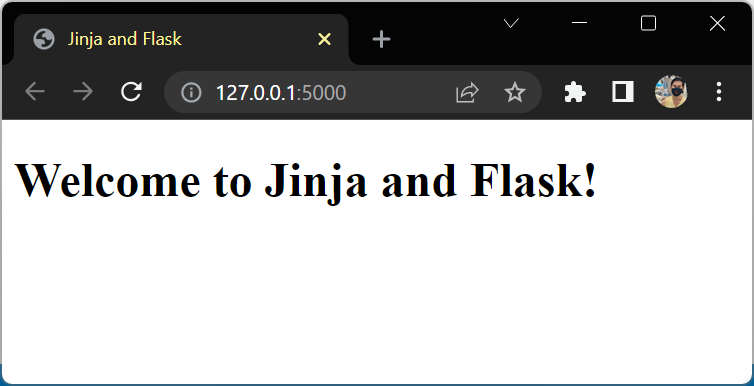
<title>{% block title %}{{ title }}{% endblock title %}</title>
</head>
<body>
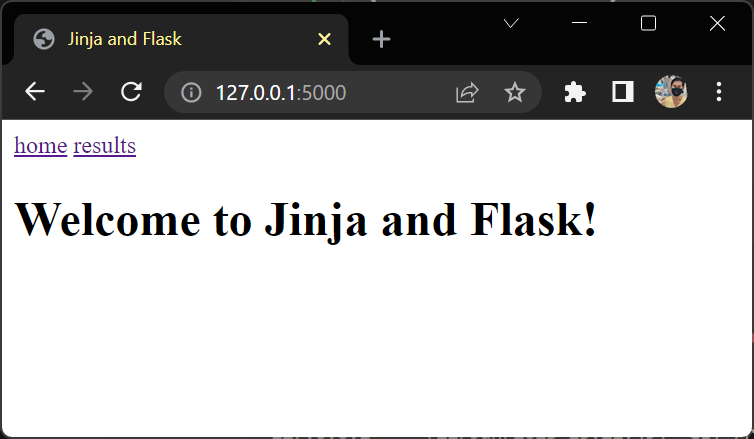
<header>
{% include "_navigation.html" %}
</header>
{% block content %}
<h1>Welcome to {{ title }}!</h1>
{% endblock content %}
<footer>
{{ macros.light_or_dark_mode("body") }}
</footer>
</body>
</html>
{# templates/message.txt #}

Hello {{ name }}!

I'm happy to inform you that you did very well on today's {{ test_name }}.
You reached {{ score }} out of {{ max_score }} points.

See you tomorrow!
Anke
# write_messages.py
from jinja2 import Environment, FileSystemLoader
max_score = 100
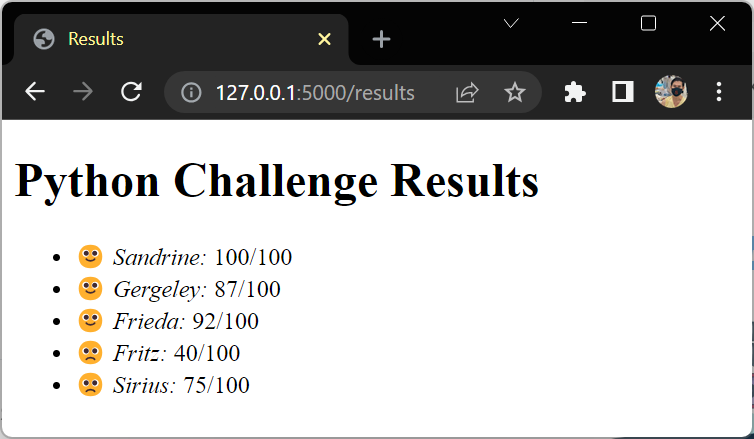
test_name = "Python Challenge"
students = [
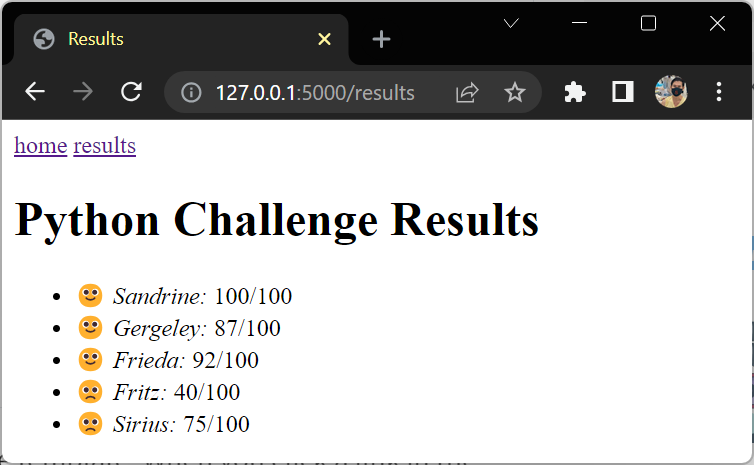
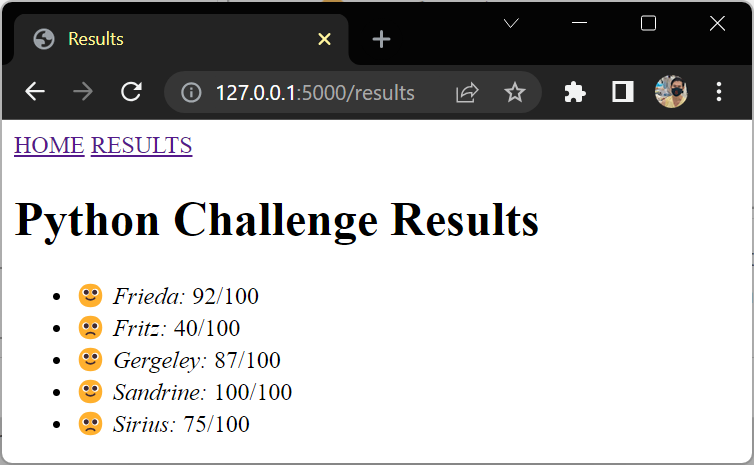
{"name": "Sandrine", "score": 100},
{"name": "Gergeley", "score": 87},
{"name": "Frieda", "score": 92},
]
environment = Environment(loader=FileSystemLoader("templates/"))
template = environment.get_template("message.txt")
for student in students:
filename = f"message_{student['name'].lower()}.txt"
content = template.render(
student,
max_score=max_score,
test_name=test_name
)
with open(filename, mode="w", encoding="utf-8") as message:
message.write(content)
print(f"... wrote {filename}")
# ... wrote message_sandrine.txt
# ... wrote message_gergeley.txt
# ... wrote message_frieda.txt
รันเสร็จจะได้ไฟล์มา 3 ไฟล์
Example 3 – if
{# templates/message.txt #}

Hello {{ name }}!

{% if score > 80 %}
I'm happy to inform you that you did very well on today's {{ test_name }}.
{% else %}
I'm sorry to inform you that you did not do so well on today's {{ test_name }}.
{% endif %}
You reached {{ score }} out of {{ max_score }} points.

See you tomorrow!
Anke
MarkupSafe implements a text object that escapes characters so it is safe to use in HTML and XML. Characters that have special meanings are replaced so that they display as the actual characters. This mitigates injection attacks, meaning untrusted user input can safely be displayed on a page. Escaping is implemented in C so it is as efficient as possible.
Installing
pip install -U MarkupSafe
Example 1
>>> from markupsafe import Markup, escape
>>> # escape replaces special characters and wraps in Markup
>>> escape("<script>alert(document.cookie);</script>")
Markup('<script>alert(document.cookie);</script>')
>>> escape("<strong>Hello</strong>")
Markup('<strong>Hello</strong>')
>>> # wrap in Markup to mark text "safe" and prevent escaping
>>> Markup("<strong>Hello</strong>")
Markup('<strong>hello</strong>')
>>> escape(Markup("<strong>Hello</strong>"))
Markup('<strong>hello</strong>')
>>> # Markup is a str subclass
>>> # methods and operators escape their arguments
>>> template = Markup("Hello <em>{name}</em>")
>>> template.format(name='"World"')
Markup('Hello <em>"World"</em>')
This implements the __html__() interface that some frameworks use. Passing an object that implements __html__() will wrap the output of that method, marking it safe.
>>> from markupsafe import Markup

>>> class Foo:
...     def __html__(self):
...         return '<a href="/foo">foo</a>'
...

>>> Markup(Foo())
Markup('<a href="/foo">foo</a>')
[build-system]
requires = ["setuptools>=61.0"]
build-backend = "setuptools.build_meta"

[project]
name = "example_package_phaisarn"
version = "0.0.1"
authors = [
  { name="Phaisarn", email="phaisarn@example.com" },
]
description = "A small example package"
readme = "README.md"
requires-python = ">=3.7"
classifiers = [
    "Programming Language :: Python :: 3",
    "License :: OSI Approved :: MIT License",
    "Operating System :: OS Independent",
]

[project.urls]
"Homepage" = "https://github.com/pypa/phaisarn"
"Bug Tracker" = "https://github.com/pypa/phaisarn/issues"
ไฟล์ README.md
# Example Package

This is a simple example package. You can use
[Github-flavored Markdown](https://guides.github.com/features/mastering-markdown/)
to write your content.
ไฟล์ LICENSE
Copyright (c) 2018 The Python Packaging Authority

Permission is hereby granted, free of charge, to any person obtaining a copy
of this software and associated documentation files (the "Software"), to deal
in the Software without restriction, including without limitation the rights
to use, copy, modify, merge, publish, distribute, sublicense, and/or sell
copies of the Software, and to permit persons to whom the Software is
furnished to do so, subject to the following conditions:

The above copyright notice and this permission notice shall be included in all
copies or substantial portions of the Software.

THE SOFTWARE IS PROVIDED "AS IS", WITHOUT WARRANTY OF ANY KIND, EXPRESS OR
IMPLIED, INCLUDING BUT NOT LIMITED TO THE WARRANTIES OF MERCHANTABILITY,
FITNESS FOR A PARTICULAR PURPOSE AND NONINFRINGEMENT. IN NO EVENT SHALL THE
AUTHORS OR COPYRIGHT HOLDERS BE LIABLE FOR ANY CLAIM, DAMAGES OR OTHER
LIABILITY, WHETHER IN AN ACTION OF CONTRACT, TORT OR OTHERWISE, ARISING FROM,
OUT OF OR IN CONNECTION WITH THE SOFTWARE OR THE USE OR OTHER DEALINGS IN THE
SOFTWARE.
Generating distribution archives
Now run this command from the same directory where pyproject.toml is located:
python -m build
This command should output a lot of text and once completed should generate two files in the dist directory:
Uploading example_package_phaisarn-0.0.1-py3-none-any.whl
100% ━━━━━━━━━━━━━━━━━━━━━━━━━━━━━━━━━━━━━━━━ 6.2/6.2 kB • 00:00 • ?
WARNING  Error during upload. Retry with the --verbose option for more details.
ERROR    HTTPError: 400 Bad Request from https://test.pypi.org/legacy/
         File already exists. See https://test.pypi.org/help/#file-name-reuse for more
         information.
$ pyspark
Python 3.10.6 (main, Nov 14 2022, 16:10:14) [GCC 11.3.0] on linux
Type "help", "copyright", "credits" or "license" for more information.
Setting default log level to "WARN".
To adjust logging level use sc.setLogLevel(newLevel). For SparkR, use setLogLevel(newLevel).
23/07/28 23:41:19 WARN NativeCodeLoader: Unable to load native-hadoop library for your platform... using builtin-java classes where applicable
Welcome to
      ____              __
     / __/__  ___ _____/ /__
    _\ \/ _ \/ _ `/ __/  '_/
   /__ / .__/\_,_/_/ /_/\_\   version 3.3.2
      /_/

Using Python version 3.10.6 (main, Nov 14 2022 16:10:14)
Spark context Web UI available at http://localhost:4040
Spark context available as 'sc' (master = local[*], app id = local-1690562479751).
SparkSession available as 'spark'.
>>>
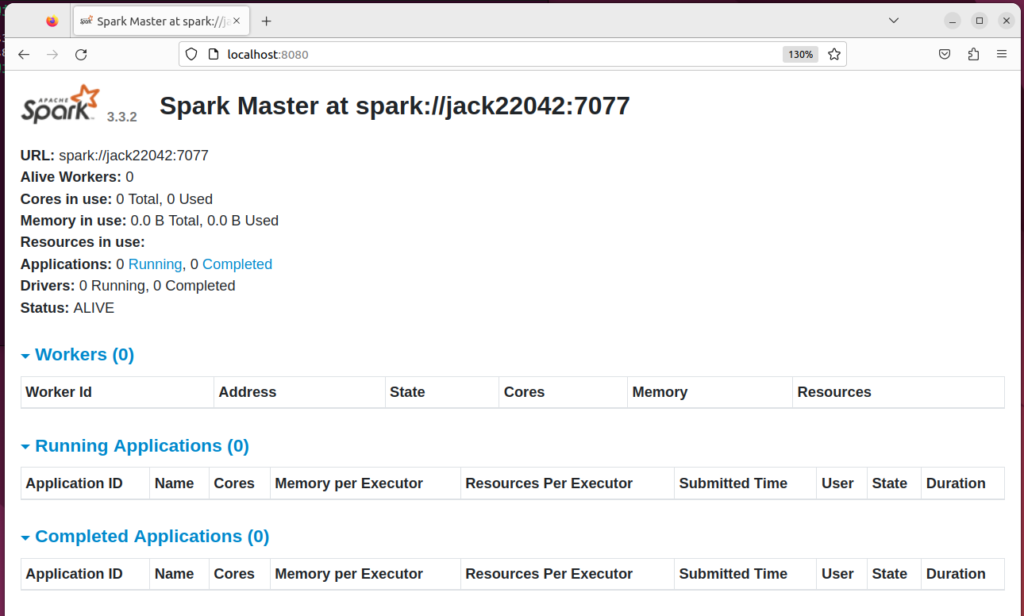
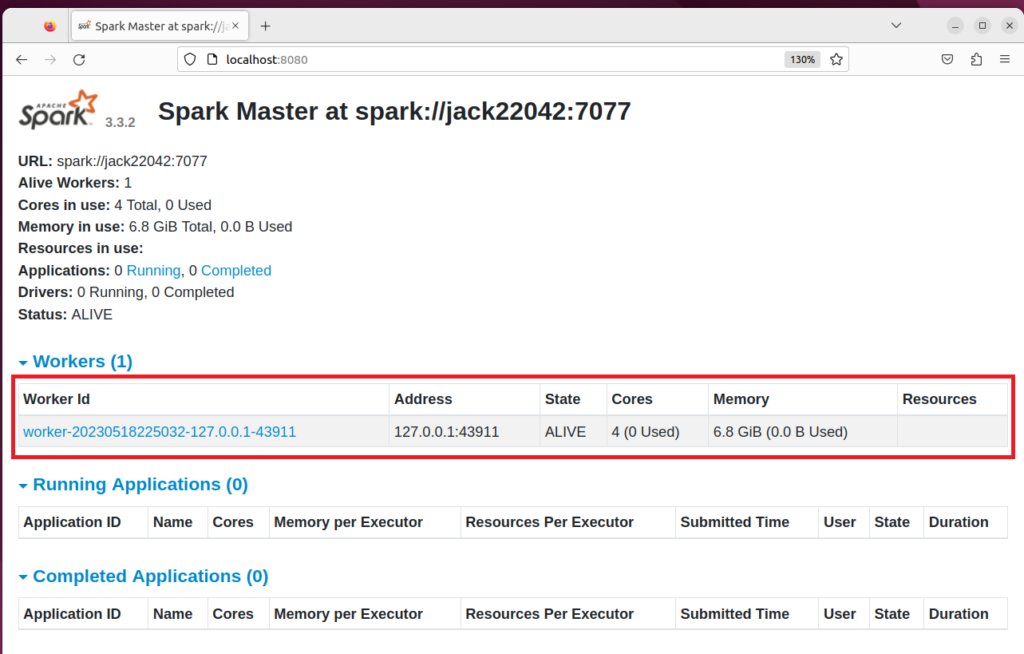
Start a standalone master server
$ start-master.sh
starting org.apache.spark.deploy.master.Master, logging to /opt/spark/logs/spark-jack-org.apache.spark.deploy.master.Master-1-jack22042.out