Link
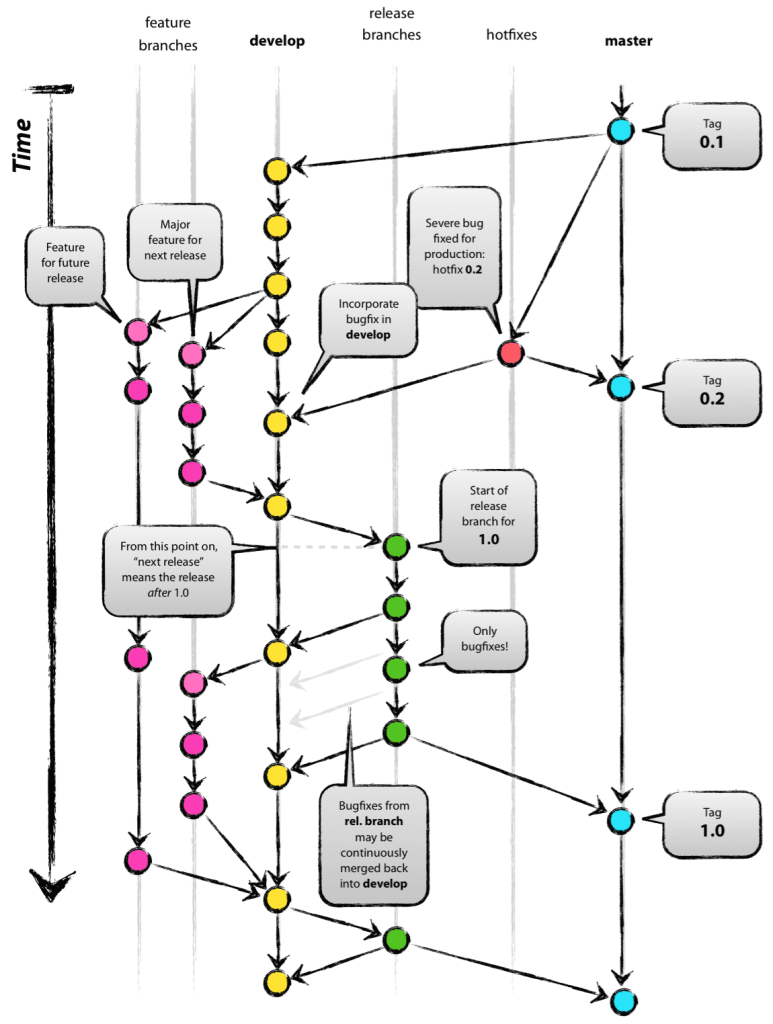
- GitHub – azkaban/azkaban: Azkaban workflow manager.
- Azkaban documentation! — Azkaban documentation (new Documentation site)
- Azkaban (The current documentation will be deprecated soon) , Azkaban 3.0 Documentation
อันนี้ติดตั้งแบบ Solo Server
In solo server mode, the DB is embedded H2 and both web server and executor server run in the same process.
The multiple executor mode is for most serious production environment. Its DB should be backed by MySQL instances with master-slave set up. The web server and executor servers should ideally run in different hosts
ติดตั้ง Azkaban 3.84.14 บน Ubuntu 18.04.5 LTS
และลอง ติดตั้ง Azkaban 3.90.0 บน Ubuntu 20.04.6 LTS ได้
แต่ลอง ติดตั้ง Azkaban 4.0.0 บน Ubuntu 20.04.6 LTS ไม่ได้ ติดตอน bin/start-solo.sh แล้ว error No implementation for azkaban.imagemgmt.services.ImageRampupService was bound.
อัพเดทแพกเกจ
sudo apt update
ถ้าเดิมมี ติดตั้ง Java 11 ให้เอาออกก่อน (Uninstall OpenJDK in Ubuntu. Though the Ubuntu environments comes… | by Hirosh Tharaka (BSc.Hons, CTFL) | Medium)
$ sudo apt-get purge --auto-remove openjdk*
ติดตั้ง Java 8
sudo apt install openjdk-8-jdk
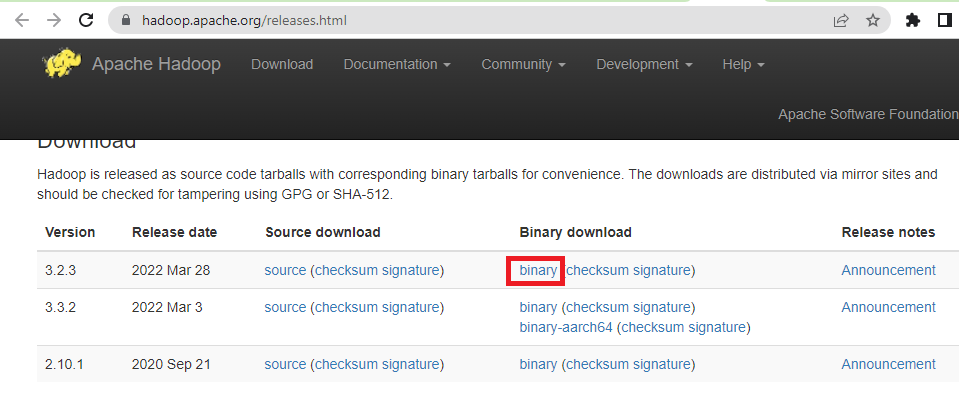
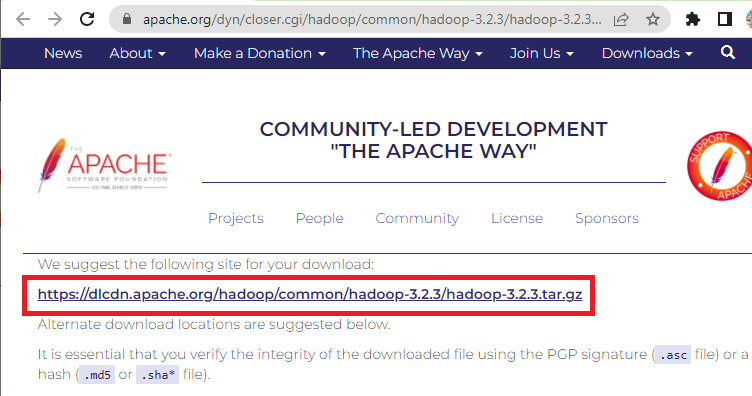
ติดตั้ง Hadoop
ถ้าใช้ Hadoop ก็ ติดตั้ง Hadoop in Stand-Alone Mode บน Ubuntu 18.04
ติดตั้ง Azkaban
ดาว์นโหลด Azkaban 3.84.14
git clone https://github.com/phaisarnsut/azkaban3.84.14.git
หรือ
git clone https://github.com/phaisarnsut/azkaban3.90.0.git
$ mv azkaban3.84.14/ azkaban
$ cd azkaban/
$ chmod +x gradlew
Build
แก้ไขไฟล์ azkaban-web-server/build.gradle จาก
distBaseUrl = 'https://nodejs.org/dist'
เป็น
distBaseUrl = 'https://direct.nodejs.org/dist/'
$ ./gradlew distZip
Downloading https://services.gradle.org/distributions/gradle-4.6-all.zip
...
unzip Azkaban solo server
sudo apt install unzip
$ unzip azkaban-solo-server/build/distributions/azkaban-solo-server-0.1.0-SNAPSHOT.zip
สร้างไฟล์ config
หรือ copy ตัวอย่างมาจาก azkaban-solo-server/src/main/resources/conf/ หรือ azkaban/azkaban-solo-server/src/main/resources/conf at master · azkaban/azkaban · GitHub
$ cd azkaban-solo-server-0.1.0-SNAPSHOT/
$ mkdir conf
$ cd conf
สร้างไฟล์ azkaban.properties
# Azkaban Personalization Settings
azkaban.name=Test
azkaban.label=My Local Azkaban
azkaban.color=#FF3601
azkaban.default.servlet.path=/index
web.resource.dir=web/
default.timezone.id=America/Los_Angeles
# Azkaban UserManager class
user.manager.class=azkaban.user.XmlUserManager
user.manager.xml.file=conf/azkaban-users.xml
# Loader for projects
executor.global.properties=conf/global.properties
azkaban.project.dir=projects
database.type=h2
# h2.path=./h2
h2.path=.
# h2.create.tables=true
# Velocity dev mode
velocity.dev.mode=false
# Azkaban Jetty server properties.
jetty.use.ssl=false
jetty.maxThreads=25
jetty.port=8081
# Azkaban Executor settings
executor.port=12321
# mail settings
mail.sender=
mail.host=
# User facing web server configurations used to construct the user facing server URLs. They are useful when there is a reverse proxy between Azkaban web servers and users.
# enduser -> myazkabanhost:443 -> proxy -> localhost:8081
# when this parameters set then these parameters are used to generate email links.
# if these parameters are not set then jetty.hostname, and jetty.port(if ssl configured jetty.ssl.port) are used.
# azkaban.webserver.external_hostname=myazkabanhost.com
# azkaban.webserver.external_ssl_port=443
# azkaban.webserver.external_port=8081
job.failure.email=
job.success.email=
lockdown.create.projects=false
cache.directory=cache
# JMX stats
jetty.connector.stats=true
executor.connector.stats=true
# Azkaban plugin settings
azkaban.jobtype.plugin.dir=plugins/jobtypes
# Number of executions to be displayed
azkaban.display.execution_page_size=16
azkaban.use.multiple.executors=true
azkaban.executor.runtimeProps.override.eager=false
# Azkaban Ramp Feature Configuration
#Ramp Feature Related
azkaban.ramp.enabled=true
azkaban.ramp.status.polling.enabled=true
azkaban.ramp.status.polling.interval.min=30
azkaban.ramp.status.push.interval.threshold=15
azkaban.ramp.status.pull.interval.threshold=100
สร้างไฟล์ azkaban-users.xml
<azkaban-users>
  <user groups="azkaban" password="azkaban" roles="admin" username="azkaban"/>
  <user password="metrics" roles="metrics" username="metrics"/>

  <role name="admin" permissions="ADMIN"/>
  <role name="metrics" permissions="METRICS"/>
</azkaban-users>
สร้างไฟล์เปล่า global.properties
touch global.properties
cd ..
Start the server
$ cd azkaban-solo-server-0.1.0-SNAPSHOT/
$ pwd
/home/jack/Downloads/azkaban/azkaban-solo-server-0.1.0-SNAPSHOT
Start the solo server:
$ bin/start-solo.sh
ดูว่า start ขึ้นมั๊ย
$ cat soloServerLog_*
เช่น
$ cat soloServerLog__2022-05-05+14:52:27.out
Stop server
$ bin/shutdown-solo.sh
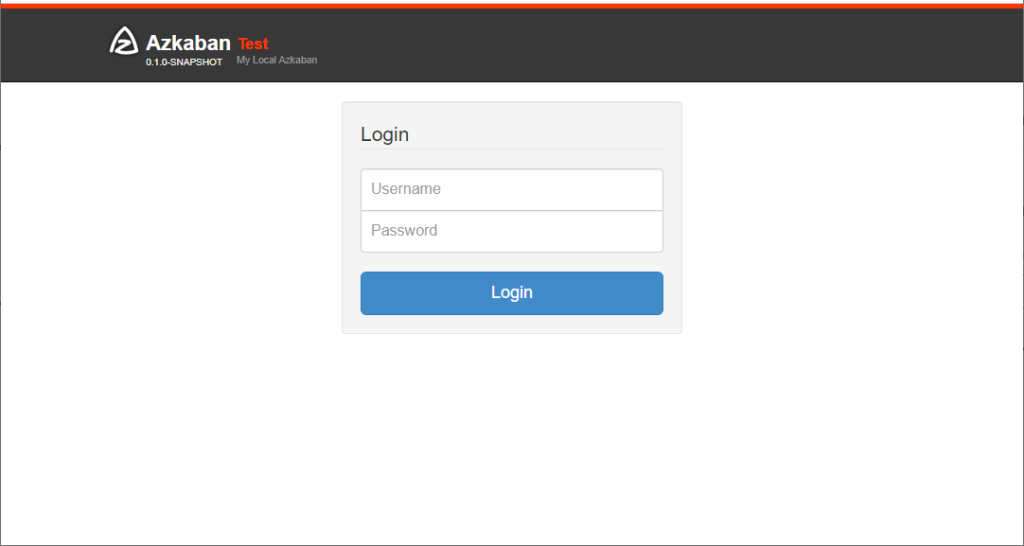
ทดลองเรียกไปที่ http://localhost:8081/
ตัวอย่าง Flow แบบง่าย
สร้างไฟล์ flow20.project
azkaban-flow-version: 2.0
สร้างไฟล์ basic.flow
nodes:
  - name: jobA
    type: command
    config:
      command: echo "This is an echoed text."

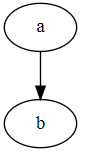
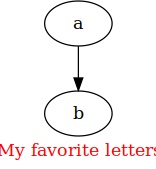
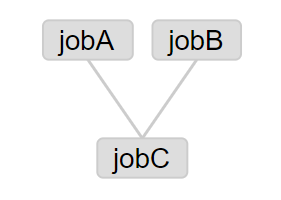
ตัวอย่าง Flow แบบมี Dependencies
แก้ไขไฟล์ basic.flow
nodes:
  - name: jobC
    type: noop
    # jobC depends on jobA and jobB
    dependsOn:
      - jobA
      - jobB

  - name: jobA
    type: command
    config:
      command: echo "This is an echoed text."

  - name: jobB
    type: command
    config:
      command: pwd
type: noop คือ A job that takes no parameters and is essentially a null operation. Used for organizing your graph. (Azkaban 3.0 Documentation #builtin-jobtypes)
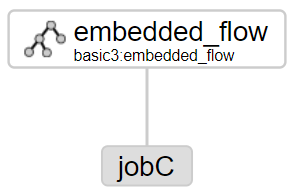
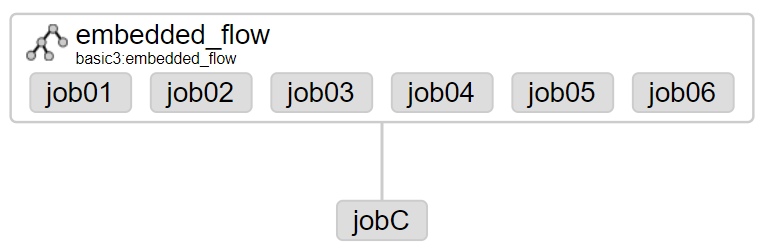
ตัวอย่าง Flow แบบมี Dependencies เป็น flow
nodes:
  - name: jobC
    type: noop
    dependsOn:
      - embedded_flow

  - name: embedded_flow
    type: flow
    config:
      flow.num.job.threads: 3
    nodes:
      - name: job01
        type: command
        config:
          command: sleep 10

      - name: job02
        type: command
        config:
          command: sleep 10

      - name: job03
        type: command
        config:
          command: sleep 10

      - name: job04
        type: command
        config:
          command: sleep 10

      - name: job05
        type: command
        config:
          command: sleep 10

      - name: job06
        type: command
        config:
          command: sleep 10
กำหนดจำนวน thread ที่ flow.num.job.threads
การสั่งให้ job รันมากกว่า 1 คำสั่ง
ถ้าใส่มากกว่า 1 คำสั่งเข้าไปตรงๆ จะ error เช่น
command: cd /home/jack/; ./run_some_job
ให้ปรับเป็นใส่คำสั่งเรียก shell script แทน เช่น
command: /home/jack/run_some_shell.sh
แล้วใส่คำสั่งใน run_some_shell.sh แทน
cd /home/jack/
./run_some_job